So you are thinking about getting into 3D printed guns and you have no idea what to do or how to go about it. Well, Fullyloadedclip is here to help, so let’s get to it.
What is a 3D printed gun?
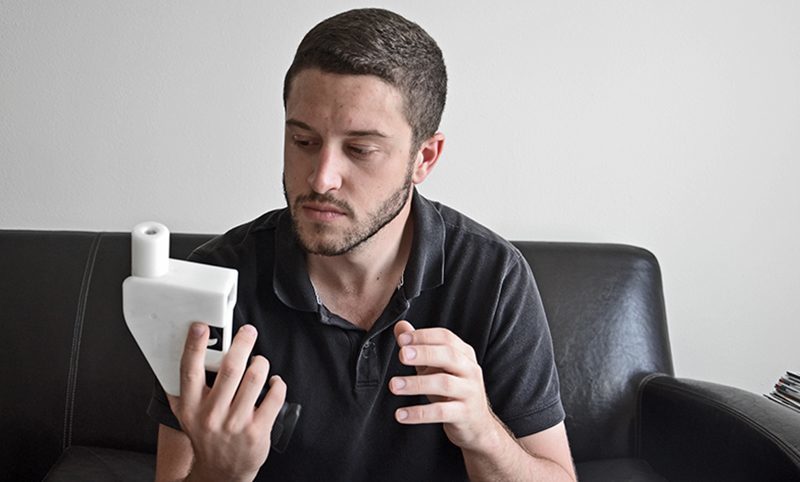
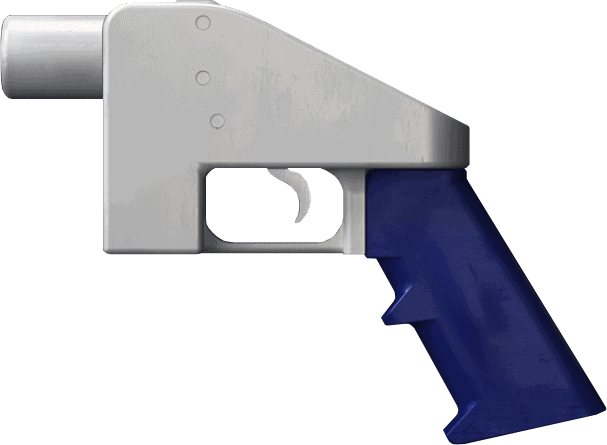
In simple terms, a 3D printed gun is a plastic piece of firearm produced by a 3D printer. In 2012, a man named Cody Wilson disclosed his plans to make designs of firearms easily accessible online, so anybody with a 3D printer could successfully print a firearm by themselves. He founded an organization called “Defense Distributed” to pursue this objective. The plan was met by anti-gun officials which led to subsequent lawsuits that lasted for over 5 years. Luckily for us, 3D gun production and carry have been legalized in the U.S. after tons of legal battles. Today, 3D guns have transformed the firearm world in the United States.Two groups largely responsible for this transformation are the “Deterrence Dispensed group” and the “Defense Distributed.” Let’s not go too deep into the boring part. Let’s check out how to go about making your own 3D printed firearm.

At Fullyloadedclip, we know printing a 3D firearm will prove tricky and daunting especially if you are just learning the ropes. So we have come up with a step by step process to help you out. Don’t fret, we got you.
What do you need to print a 3D firearm?
Printing a 3D firearm takes time. Most people think it’s just to download the design file and the printer does the rest. Well, it’s not that simple and it definitely isn’t rocket science either. The following equipment will help you make the task easier.
A 3D printer. One question we are sure you have is “what 3D printer should I buy?” You need a good and durable Printer. We recommend the “Creality Ender 3.” This printer is big enough and capable to print sophisticated devices such as a firearm. It is also user friendly. You can get the Ender 3 on Amazon for a little over $200. You also need to take note of the fact that a 3D printer can’t print a fully sophisticated device like a firearm. This means the parts of the gun are printed individually and then joined together afterward.

A set of clippers. These will help you tune the printer. We recommend the “Anytime Tools Dial Caliper 6″ / 150mm.” This clipper has a dual reading scale with a standard inch MM.” They take accurate measurements and you can get them for a price ranging from $30 to $35.
A spool. Spools are circular devices with space for wrapping cords. We recommend getting any of the ” eSUN 3D Printer Filaments.” They are sold for a price ranging from $20 to $25. These spools are virtually made for plastic cords.
A slicer. The slicer converts the 3D model into a G-code file that will provide the 3D printer with all the necessary instructions for printing. We recommend getting the “Cura slicer.”
Ensure you have the material or plastic to be used. 3D printed guns are ninety percent made from thermoplastic. The exception is the firing pin and the bullet which are made from metal. Traditionally, 3D guns were made from plastic. However, technological advancement has made it possible to produce 3D metal guns. Heads up, the metal guns are more expensive to produce or purchase than the plastic models. As at inception, most 3D plastic guns were single-use meaning you couldn’t fire them twice because the plastic deforms after a single shot due to the impact and force required to fire a gun. You’ll be happy to know that was then. Modern 3D are now reinforced meaning you can fire multiple shots without the gun giving way. Cool right? We think so too. Though the bullet fired from a 3D plastic firearm doesn’t have the same power or speed as a normal firearm, it still packs a good deal of power and one day, a 3D gun could match and even surpass the power of a normal gun. You never know.
After getting the above-listed equipment, you need to assemble the 3D printer. Then you can go ahead to print. If you aren’t sure how to assemble your 3D printer, you should consult the user’s manual that comes with it.
How to print 3D guns files
The first thing to do is to get a 3D file or design of the gun you want to print. There are tons of gun files and designs on the web ranging from simple a single-use firearm to more sophisticated firearms. If you are new to this, we advise you to start slow by picking a really simple design. This will be faster to produce and easier to assemble. Check out Defcad, CTRL-PEW, or Grabcad for cool designs.
Level the printing bed. In simple terms, the bed is the flat metal board on the bottom of your printer. This is where the piece you want to make is printed. Leveling the bed allows the nozzle to be set at a level that is equal over the entire area. This step is vital because the initial layer in a printed device determines the structure of the rest of the print. To get a solid base and an accurate print, the bed must be properly leveled. If you aren’t sure how to go about this, check out the link below on how to level the bed on your Ender 3. https://all3dp.com/2/ender-3-bed-leveling-all-you-need-to-know/
Calibrate the extruder. Just like leveling your bed, calibrating the extruder is another step that determines the result you get. This is to ensure that the amount of filament that your printer pushes through the nozzle is the required quantity. In simpler terms, calibration of the extruder makes sure that the amount of filament (the material that the pieces are made from) pushed out is not too much or too small to make the piece. If the filament is too small, you will have a piece that is too weak. Too much filament and you have a piece that is too strong meaning it would easily give way or break. If you aren’t sure how to go about this, check out the link below on how to calibrate the extruder on your “Ender 3.” https://all3dp.com/2/extruder-calibration-6-easy-steps-2/
Slice your 3D design. The process known as slicing means turning the design you downloaded which is usually in “STL. Format” into “Gcode.” The Gcode is a tool path that the printer will use for printing. In simpler terms, slicing a design means converting the file into a format or file that the printer can understand and follow.
Insert the file to the Ender 3 printer and watch the magic happen. Of course, you have to turn on the printer before this. Ensure all printed pieces can fit in appropriately while assembling. A poorly assembled gun will not do what is required. You can reprint a piece if it doesn’t fit in the appropriate pocket well.
Assemble the printed parts. A 3D printer though a technological breakthrough, can’t successfully print a whole firearm in one go. It’s usually required to print each part differently and then assemble them correctly.
So, there you have it.

Legality
A very important factor to consider before venturing into the world of 3D printed guns is the law guiding the production, purchase, and usage of a plastic firearm in your location. Since anyone can get the blueprint of a 3D gun online and easily produce it in a few hours, many states in the U.S have set up strict rules guiding the production, purchase, and usage of the device. For instance, the state of California asks those that print 3D guns to apply for a serial number from the department of justice. This is a bid to put some sort of tracker or ID on the gun. Connecticut, together with about 20 states is on board to challenge the “Trump administration’s” verdict on the release of the 3D printed firearms.
3D guns have revolutionized guns as we know them but the fact that the blueprints of these weapons can be easily accessed online to anyone regardless of their status, intent, felony, mental state, and so on gives a lot to worry about as well. While some of these rules may seem strict, we have to be a hundred with ourselves, so make sure you take full responsibility for the firearm you produce. Remember the golden rule of firearm safety, “Always treat every gun as if it were loaded.” The fact that it’s a 3D plastic gun doesn’t mean it can’t hurt you or anyone else around you.
Let us know what you think about this article by leaving a comment below. You can also check out other articles on this website. You will love them. Have a great day.
Sources
CTRL + Pew – The complete getting started guide.

